How to put fishing line on a closed and open face reel
Your fishing line constantly faces things that can deteriorate its quality. These include elements like water, humidity, and the sun among others. Even regular use, casting, playing the fish, retrieving, and re-spooling, all take a toll of their own. Over weeks or months, these factors can weaken your fishing line resulting in more twists and tangles as well as other problems. The line has to be changed every once in a while. So it’s important to know how to put a fishing line on a closed and open-face reel.
There are several types of fishing reels widely in use. While the principles are the same, each reel type requires a different set of steps. The following guide is to help you put your fishing line on a closed and open-face reel.
Changing a fishing line is not as simple as it sounds. You need to follow the steps involved, for each reel type diligently, to spool a new line correctly.
Put a fishing line on an Open face reel or a spinning reel
To put a new line on your open-face reel or spinning reel correctly, follow these steps:
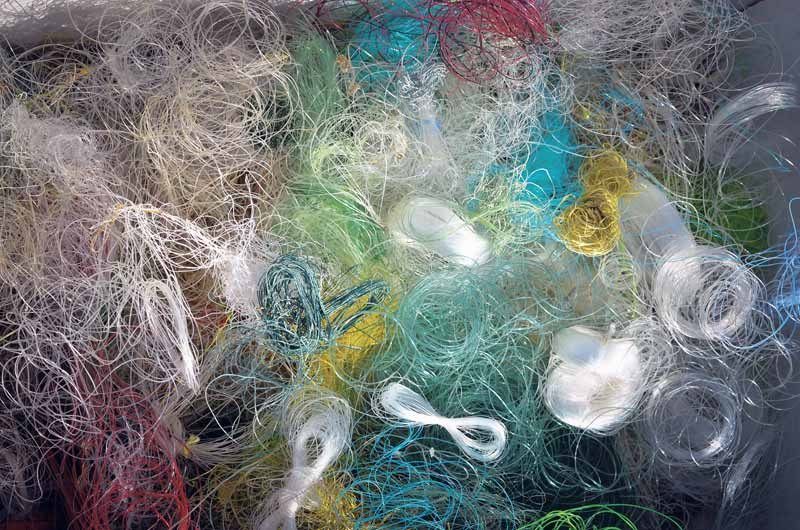
1. Remove any old lines from your reel. Remove any bits and pieces attached to the reel. After removing make sure you had disposed of the old lines, don’t throw them in the open sea or anywhere on the beach. Check this form on how you can dispose of your old lines.
2. Select the right line for your spinning reel. Check the line capacity on your spinning reel, usually given in lb/yards format. Line capacity tells you how much of a particular pound test line you may put on the reel. Make sure your reel can take the required length of a particular pound test line. Trying to fit in too much of a heavier line will make your reel unmanageable, or limit your casting distance.

3. Open the bail by flipping the arm. This is important. If you miss this step, you will have to untie and re-tie the line or remove the spool from the reel to re-insert it through an open bail.
4. Attach the new line to your reel. Draw the line through the first guide on the rod, and tie it to your reel. We recommend the arbor knot. This involves one tight overhand knot near the open end of the line, then wrapping the line around your reel and tying two additional overhand knots, to tighten all three on the surface of the reel. You may use any other knot as long as it holds firmly. Pull the line to make sure it is securely attached. Remove any extra tags.
5. Ensure the line is coming off the spool in the same direction as the spin of your reel. Put the spool on its side on any surface. Point the rod down to it. Match the spin of your reel to the spool. If your reel is turning anti-clockwise, the line too must come off anti-clockwise. In case, the reel is coming off the spool in the opposite direction, flip the spool over to match its direction to the spin of your reel. This step is important to avoid line twists.
6. Hold the line taut with one hand along. Doing so helps the line to spool nicely and evenly around the reel, avoiding any twists and tangles.
7. Wrap the line around your reel by cranking the handle. Depending on your reel and line, this may take you 20 or more revolutions of the handle.
8. Stop when your reel is nearly full. Leave up to 1/8th of an inch of extra space empty on the lips. This is important to avoid the line coming off the reel in all bunched up.
9. Cut the line with a clipper. Secure the remaining line on the spool for future use. Your reel is now all set.
10. You may keep your freshly lined spool in warm water for a few minutes, as an additional step. This helps your line acquire a new “memory” around your reel to avoid line tangles and twists during use. Secure the line around the spool of your reel. Take the spool out by turning the drag nut. Keep the spool in a glass of warm water for 5 to 10 minutes. Put it back on. If you want to learn how to oil your spool then check this.
Remember: A few of the steps are similar for filling all types of reels. These have been mentioned repeatedly in all three step-by-step procedures to emphasize how important they are. One slight misstep and you might have to do the process all over again or face problems while fishing.
Rapala explained it very well on how to put fishing line on a spinning reel
Baitcasting Reel
A bait caster is significantly different from a spinning reel. To put a fishing line on your baitcasting reel correctly, follow these steps:
1. Remove all of the used or old lines from your reel including any bits and pieces attached to the reel.
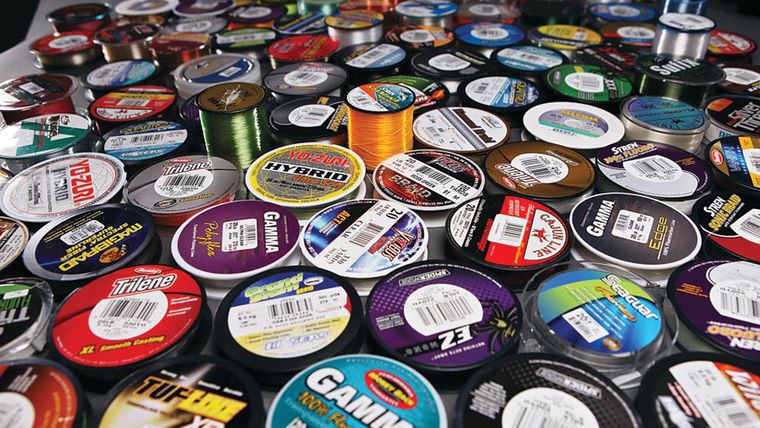
2. Select the right line for your bait caster. Check the line capacity on your reel, usually written in lb/yards format. Line capacity tells you how long of a particular pound test line you can put on the reel. A line too heavy will make your reel unmanageable or limit your casting distance.
3. Draw the line through the level-wind guide and then attach it to the reel. This is the trickiest part of a baitcasting reel. First, draw the line through the guide hole. Next, draw it under the reel to tie both sides around the reel. You may use the arbor knot by putting one overhand knot at the end of the reel and tightening it over, then, putting two overhand slip knots (using both sides of the line around the reel surface), and tightening to secure a firm grip for the line over the reel surface. Remove any extra tags.
4. Position the spool with the new line so it spins along an axle. Put a pencil or any similar thin, long object through the spool of the new line. Let the spool revolve around the object. You can ask someone to hold it for you or you may fix both ends of the pencil in the open-top box. Put the pencil through holes on both sides of the box, to allow the spool to rotate freely.
5. Check if the line is coming off the spool and winding on the reel correctly. First, make sure the line is coming over the top of the spool. If not, invert the spinning system (pencil and all) so the line comes off over the top. Next, check that you are moving the handle clockwise while the reel spins anti-clockwise.
6. Keep the line taut, while you crank the handle clockwise and guide the line through. Depending on your reel and line, this may take you 20 or more revolutions of the handle.
7. Stop when your reel is nearly full. Leave up to 1/8th of an inch of extra space empty on the lips of your reel. This is important for the smooth operation of your bait caster.
8. Cut the line with a clipper. Secure the remaining line on the spool for packing and future use. Your line is now all set and ready.
Bonus tip: Sometimes, you may feel you have not put the line correctly despite following all the steps. Or, your reel may accumulate too much twist over time. If so, draw out your entire line from your reel onto a river to let the waves carry the line away, or from a moving boat, and then wind it back over on the reel. This always works and saves you much headache!
Closed face or spin cast reel
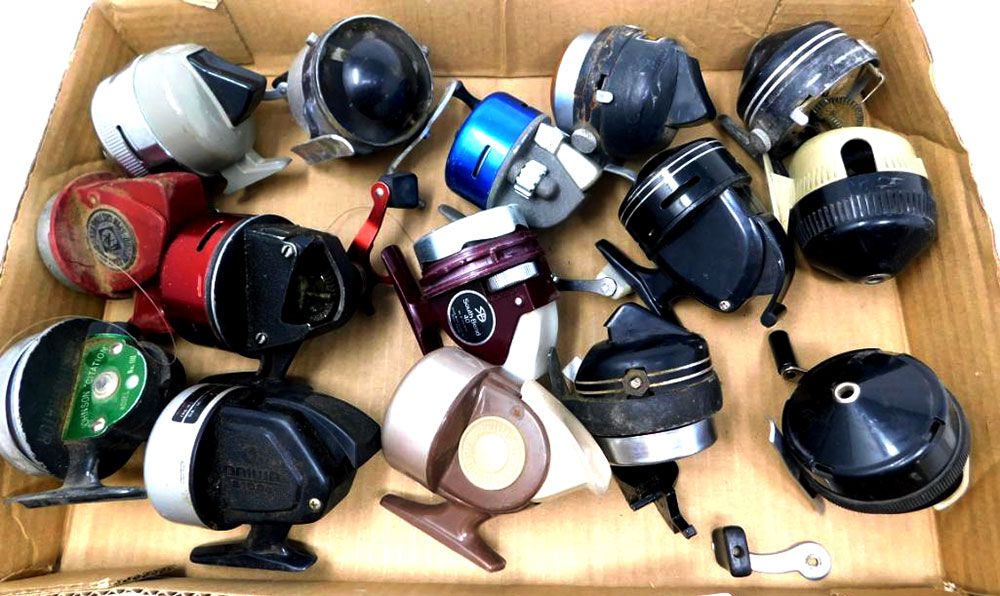
Many spinning reels come with a cone over the reel. These are known as spin-cast reels or closed-face reels. To put fishing line on your closed-face reel correctly, follow these steps:
1. Choose the right line for your reel. Check your reel’s line capacity written at the bottom in lbs/yards format, and choose a line accordingly. Trying to fit in too much of a heavier line will make your reel unmanageable, or limit your casting distance.
2. Unscrew the top cone over the reel. Turn the top cone anticlockwise until it detaches. Some closed-face models come with a push-button to open the top cone. Remove any old lines from your reel.
3. Draw the line through the hole in the front cone and attach it to your reel. You may use the arbor knot. Tie one overhand knot on the end of the line and tighten it. Then, wrap the line around the reel, and tie two additional overhand slipknots. Pull the line to tighten all three knots into place, and secure the line firmly around the surface of the reel.
4. Check if the line is coming off the spool in the same direction as that of your spinning reel. Put the spool on its side. Point the rod to it. Match the spin of your reel to the spool. If your reel is turning anti-clockwise, the line too must come off anti-clockwise. If the reel is coming off in a different direction, flip the spool over to match the direction to that of your reel. This is important to avoid line twists.
5. Put the front cone back on. Rotate clockwise to tighten it. In push-button models, the front cone remains hinged to the reel, so you can simply push it back to clip it into place. Make sure the cone does not catch the line during closing.
6. Turn the handle to put the line on the reel. Continuously apply pressure to the line with your fingers to prevent twists and tangles.
7. Do not fill the reel to its maximum capacity. Once you think you have enough lines on the reel, re-open the front cone and check inside. Make sure you leave 1/8th of the lips of your reel empty to ensure the smooth operation of your reel.
8. Cut the line. Secure the remaining line over the spool for the next use. You are all done.
However, if you want to learn more details about how to spool a fishing reel, then this is a good read in more depth.
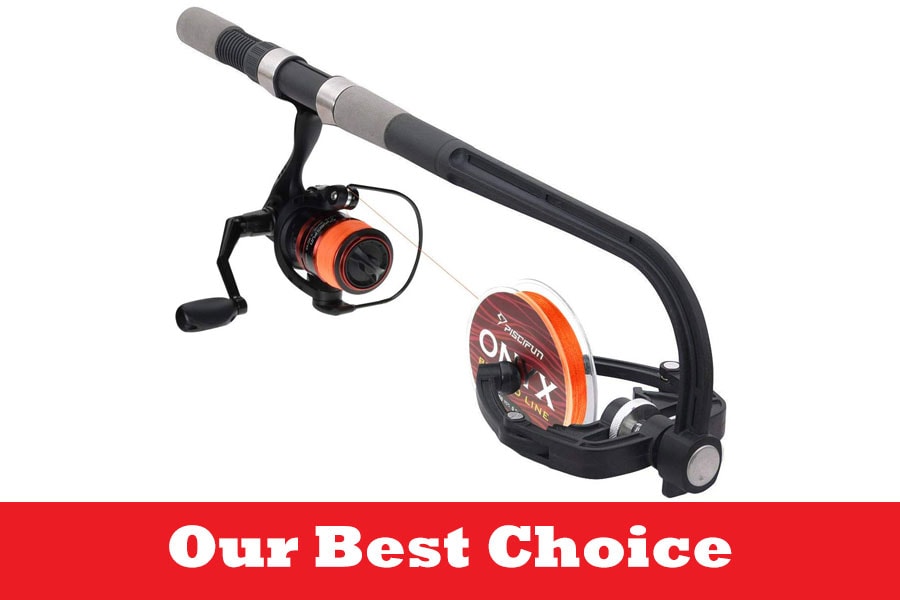
You can always spool it manually with the help of your fishing rod. Also, there is some popular professional tool. You can check this “Piscifun Fishing Line Winder Spooler Machine” on Amazon.


